Casting - Basic 3D Shapes (Can Incorporate Tempering)


+ What's Covered?
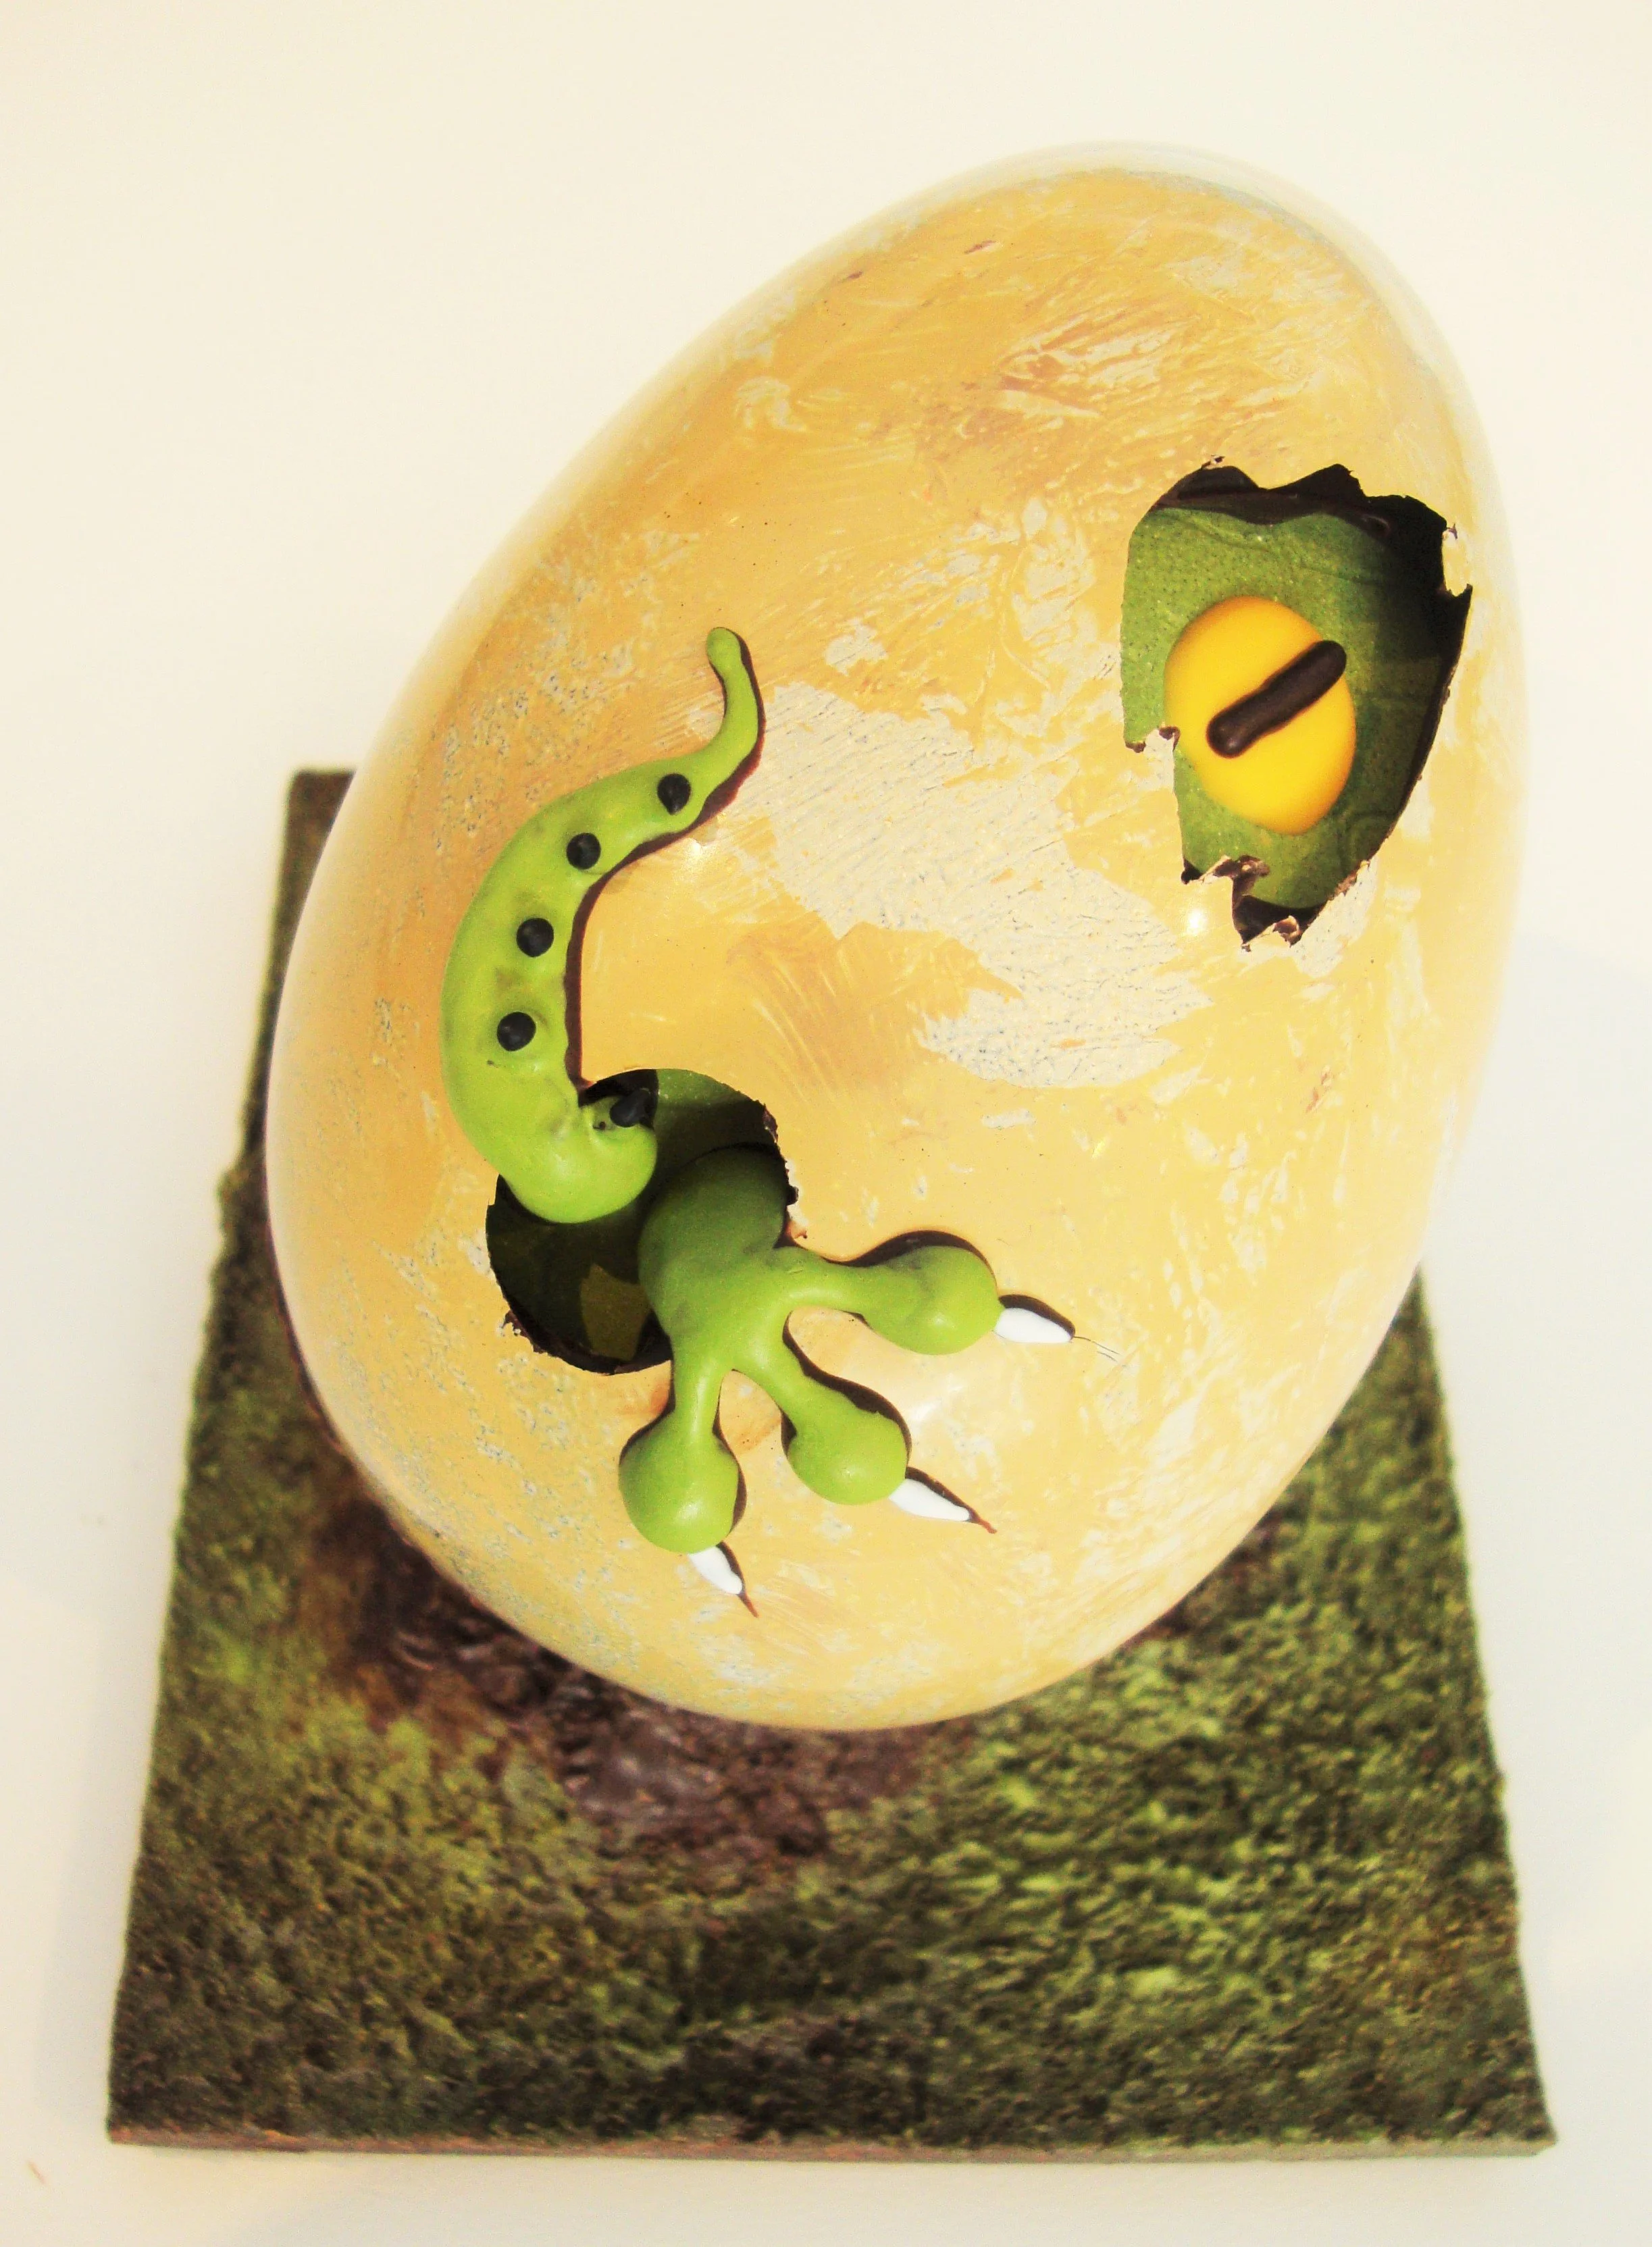
We will go over casting into 3D molds such as spheres, eggs, and any other 3D mold you wish to use to make more simple figurines and showpieces. This can also include 2-sided 3D molds such as 3D easter bunnies, easter eggs, santa figurines, and any other 3D double sided mold (a mold that has to be "sandwiched together"). We can include how to "glue" pieces together, but we won't focus on creating a finished product if this is your first time.
This lesson can easily incorporate a tempering instruction as well. If this is the case, be sure to point this out in the reservation form so I can ensure we have enough time.
We can also include 3D shapes like easter eggs or spheres with naked includsions (nuts that show up on the outside of the shape.
+ What's NOT Covered?
This lesson will focus on pouring/casting 3d shapes to be used for figures. It doesn't include assembling to finish them as you see in the images above to create a finished product.
However, if you want to include how to "glue" pieces together, we can include that as well.
It doesn't include colouring/spraying. If you wish to colour/spray your pieces before or after casting, we can do this only if you are already comfortable with colouring & spraying chocolate. If not, it's best to tackle these two things separately, and you can book a colour/spraying lesson another time.
+ What Equipment Will I Need?
This is not an exhaustive list, but some main items you will need are:
1-2 wide scrapers: you can get them from the plaster section of your hardware store
Thermometer: Laser thermometers are ideal for chocolate. You can use a probe thermometer, but life will be easier with a laser thermometer. You can buy it online, or even at your local hardware store.
A rubber spatula
5-10 metal soup or teaspoons: Can also use metal dinner knives. This will be used for temper checks.
Molds: You will also need the molds to pour the chocolate in. Ideally hard polycarbonate molds, or clear plastic molds. Silicone will work as well, but they are not ideal as they are difficult to handle and don't produce the same shine as plastic or polycarbonate molds.
Other helpful tools will be:
A ladle or reusable piping bags, dry and wet cloths, room in your fridge to set the chocolate, a fan if your room is too warm (should be around 18-20*C)
+ How Long Should I Book?
If you have never tempered chocolate before, I would suggest 2 hours to start. If you need more time, we can continue the lesson if time allows and you can pay the extra afterwards.
Also, keep in mind that we can attempt to temper two or even 3 times as well. I usually recommend tempering at least twice, since repetition will help. If you have the stamina to do this, I would suggest 2 hours. If you are a pure beginner, I would suggest at least 2 attempts in one session, but this is up to you.
If you are pretty good at tempering, and just want to focus on casting your 3D molds, then 1-1.5 hours should suffice depending on how many you want to cast and the complexity of your molds. If you're unsure, you can contact me and ask, or write it in the booking reservation form and I can adjust accordingly.
+ Is This Good For Beginners?
Yes. We will go over how to cast 3D shapes or molds, and perhaps glue shapes together in order to create very basic figures.